Set up a Python Server
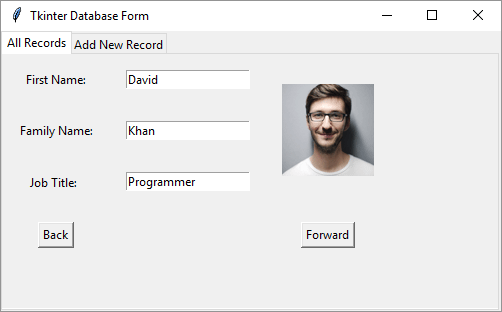
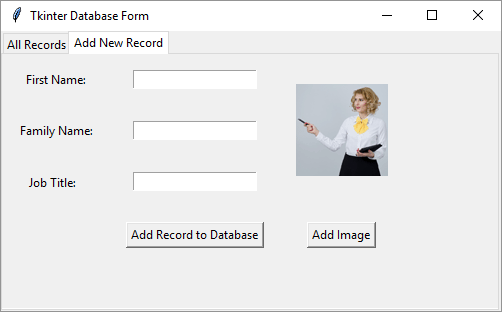
In this section, you'll create a MySql database using phpMyAdmin. You'll then create a user form with tabs so that you can scroll through and add records to your database. Here are two screenshots of the database you'll create (all names are made up, and the image are ones in the public domain):
This is quite a long project, spread over many pages, and covers a lot of ground. But It should bring your Python skills on a treat, so it's well worth completing.
In order to set up a database with phpMyAdmin, you'll first need to install a virtual server.
Installing the Virtual Server
As we're developing on a single, stand-alone computer, we need to make our computer think it's part server. The server part will be Apache. The database part will be MySql. We can install software for this. Fortunately, the process is quite simple as there is a single download for most operating systems. First up is Windows. Click below if you're on a Mac or Linux.
Installing WAMP Server for Windows Users
If you're using Windows, then a good solution is called WAMP Server. (The 'W' stands for Windows, the 'A' for Apache, 'M' for MySql, and 'P' for PHP.) You can download it here:
Once you download the file, you can simply double-click to install everything you need. You should then see an Icon in your system tray in the bottom right. It should go from Red, to Yellow and then Green. Click the green icon to see a menu:
![]()
Select phpMyAdmin from the menu.
You can also fire up a browser and type the following into the address bar:
http://localhost/phpmyadmin
Installing MAMP Server for Apple Mac
If you have a Mac, then a good solution is MAMP Server. ('M' for Mac. The rest is the same as for Windows.) You can download it here:
They have a Free and Pro version.
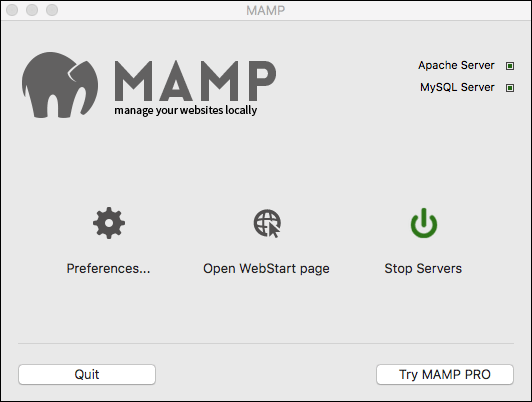
Download and install MAMP. Have a look in your Application folder and there should be a MAMP item. Click this to see a menu of folders and icons. Click the MAMP.app one to see the following:
Click on Open WebStart page and you'll be taken to a browser displaying a page called localhost. Click on Tools at the top then phpMyAdmin:

If a browser doesn't automatically start, fire up Safari and type localhost into the browser address bar.
Install a LAMP Stack on Linux Mint
For Linux users, you can download a single LAMP stack from here:
https://bitnami.com/stack/lamp
However, the above link is for 64-bit computers. If you're on a 32-bit machine, then a link to download your software is here:
When you install the software, make note of any usernames and passwords you are asked to provide. If you're asked to provide a port number, 8080 is usually fine, or 8000.
But once you download and install, you should see a folder like this:

The above screenshot is from a 32-bit version. But whatever version you download, you should see a file called manager-linux.run. You can turn this into a desktop icon that you just double click to start the software. (See a previous section on how to do this.)
When you double click the above file, you'll be looking at something like this:
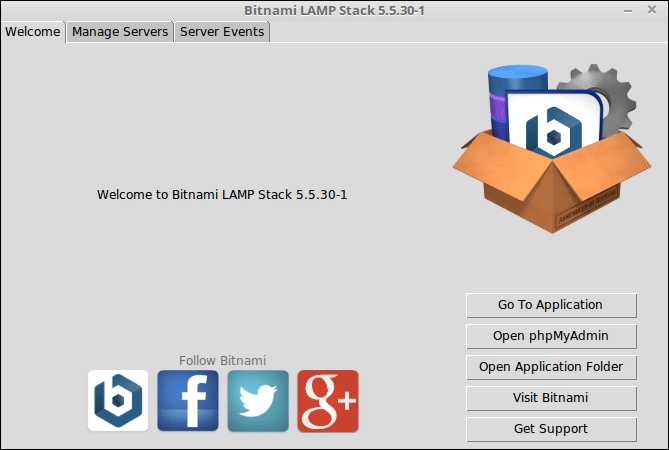
Click the button on the right, Go To Application. You'll see a prompt to start your server, if it's not already running:
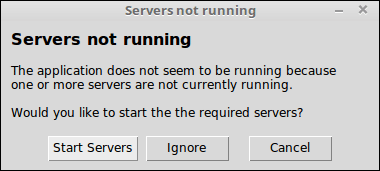
Click Start Server. Once it starts, it will launch a web page with the address localhost.
Once the server is started, click the button that says Open phpMyAdmin.
All Users
Now that you have a virtual server installed, and have phpMyAdmin up and running, we can make a start creating the database. We'll do that in the next lesson.
Create a Database with phpMyAdmin >