Creating a MySql Database
Now that you have a virtual server installed, and have phpMyAdmin up and running, we can make a start creating the database.
If you don't have a username and password for phpMyAdmin, the default username is usually root. On earlier versions of phpMyAdmin, the password can be left blank, or try root as the password, as well.
If this doesn't work, and you're getting errors when trying to login, you may need to reset your username and password. If you're using WAMP server, try the following tutorial to reset everything:
https://www.ostraining.com/blog/coding/error-1045-phpmyadmin/
For Unix users, this page may help (scroll down past the WAMP answers):
If the above links no longer work, try a search for error 1045 phpMyAdmin.
Hopefully, once you log in, you'll be looking at a screen like this one:
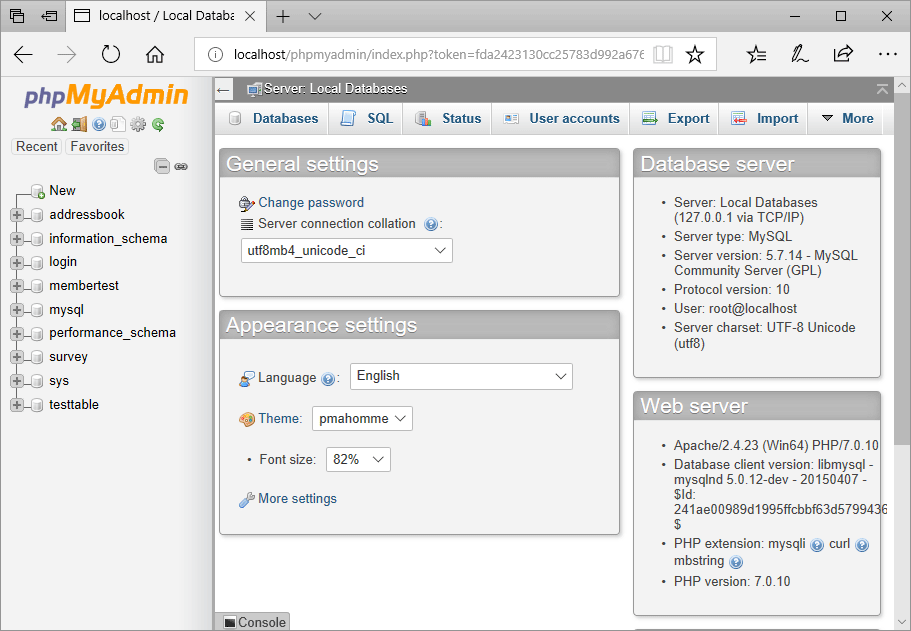
Any database you have already created will be on the left side of the screen. In the image above, we've already set up some databases, the ones that start with addressbook. To create a new database, click the New item at the top:

When you click New, you'll be asked to provide a name for your database. Type Employees as the name and then click the Create button:

You'll be taken to a new screen that says No tables found:

In the Create table area, type a name for your table. Call it tbl_employees. We want 5 columns in our table, so type 5 in the Number of Columns text box instead of 4:

Now click the GO button. You'll be taken to a screen with lots of boxes to fill in:

Scroll across to see even more:

This area is where you set up which columns you want in your table. We want columns for the following:
ID
First_Name
Family_Name
Job_Title
Photo
The ID is just a number. When you add a new row to the table, this number will get incremented automatically. We won't have to worry about this one. The other columns are self-explanatory. But we're creating a unique field here, meaning that each row in our table will have a column (field) associated with it. A unique field can be used for something called a Primary Key.
Scroll to the left of the table area and locate the Name text boxes. For the first one, type in ID. Now look at the Type area. Click the dropdown box to see the following types you can use:

We need a Numeric type for the ID column. The SMALLINT type is fine, as it can hold up to 65 and half thousand numbers. The TINYINT would be OK, too. It can store up to 255 numbers. If you're creating a really big database, then you'd need one of the other numeric types.
Scroll across and locate the Index column. It should be to the right of Null and the left of A_I. Click the dropdown to see the following:
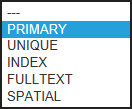
Select Primary from the list. You'll then see a popup box. Just click GO on this:
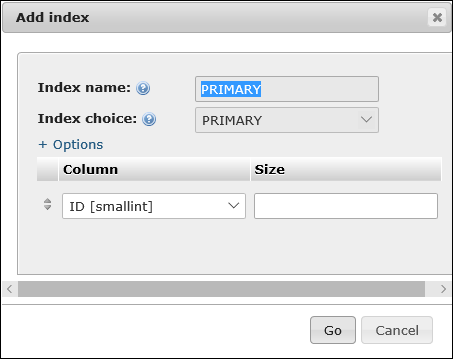
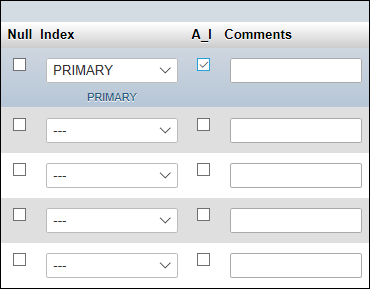
You have now created a Primary Key in your table on the ID column. Next to the Index column, check the box under A_I. This is short for Auto Increment, and means we don't have to worry about adding one to the unique ID field as MySql will take care of it for us:
Scroll back to the far left and the Name column. Enter the following names in the remaining four blank text boxes:
First_Name
Family_Name
Job_Title
Photo
Your Name area will look like this:

Notice that the Type for all four of our new fields say INT. The type going into these field will not be integers, however, but string of text. So we need to change these.
Click the dropdown list for type, just to the right of First_Name. You'll see that type list from above, again. Select VARCHAR this time:

VARCHAR means a variable number of characters. You can have up to sixty-five and half thousand characters here. We don't need that many. To specify an upper limit that this field can hold, type 50 into the Length/Values text box next to the type:
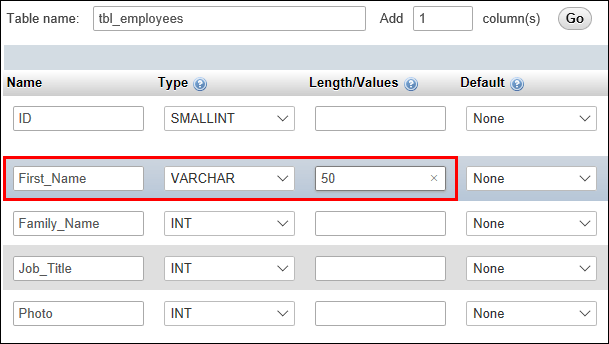
Now do the same for Family_Name:
Type: VARCHAR
Length: 50
For the Job_Title column, we don't need 50 characters. (Any job title that runs to more than 20 characters is not a proper job!)
Type: VARCHAR
Length: 20
For the Photo column, we're going to store a file name. You can actually store pictures in your database, but it's not recommended as it increase the size of your database and can slow things down. It's better to store just the file name. You can store a full file path, if you like. But we'll add the file path in our Python code. So we're not storing something this in the database table:
C:\Users\Ken\Pictures\1.png
We're just storing the image name:
1.png
We'll get the rest later. That way, you'll be able to move your images folder elsewhere and only have to make a small change to your code.
For the Photos column, then, set them to these values:
Type: VARCHAR
Length: 20
Your table set up should look like this:

That's it for the table Columns. Click the Save button at the bottom. You should then see the Structure page appear:
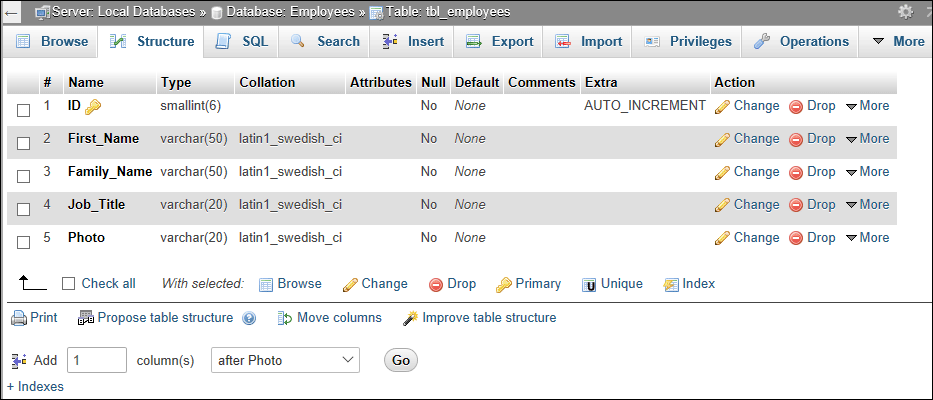
You can make changes to your table from here. For example, you might want to add a new column, or delete one. And if you want to change a column name, you'd do it from here.
We're OK, though. We can now add some rows (records) to the table. We'll do that in the next lesson.
Adding Records to your Table >