Python Tkinter Tab Widgets
Just like we did before, we'll add our form widgets in a grid. The process is slightly different, though, as we'll be adding the widgets to tabs rather than the underlying form.
The widgets we need are three labels and entry text boxes for first name, family name and job title. We also need a label that's going to hold a photo (yes, labels can be used for images). We'll need buttons on tab1 to scroll forward and back through the records. On tab2, we'll need a button to load a new image and one to add the new record to the database.
In the previous lesson, you set up two tabs for your form. Now you need some widgets to go on those tabs. Here is the code to set up the widgets for tab one. (You can copy and paste this. But you might need to redo the quote marks.):
# === WIDGETS FOR TAB ONE
firstLabelTabOne = tk.Label(tab1, text="First Name:")
familyLabelTabOne = tk.Label(tab1, text="Family Name:")
jobLabelTabOne = tk.Label(tab1, text="Job Title:")
firstEntryTabOne = tk.Entry(tab1)
familyEntryTabOne = tk.Entry(tab1)
jobEntryTabOne = tk.Entry(tab1)
imgLabelTabOne = tk.Label(tab1)
buttonForward = tk.Button(tab1, text="Forward")
buttonBack = tk.Button(tab1, text="Back")
Add the code just before these two lines:
tab_parent.pack(expand=1, fill='both')
form.mainloop()
One thing to notice about the code is that we're adding them to tab1. Previously, we would have said:
firstLabelTabOne = tk.Label(form, text="First Name:")
Because we want these widgets on tab1 we replace form with tab1.
firstLabelTabOne = tk.Label(tab1, text="First Name:")
Now you need some code to add the widgets to a grid. Here it is: (Again, you can copy and paste this. Add the lines before the two final ones, as above.)
# === ADD WIDGETS TO GRID ON TAB ONE
firstLabelTabOne.grid(row=0, column=0, padx=15, pady=15)
firstEntryTabOne.grid(row=0, column=1, padx=15, pady=15)
familyLabelTabOne.grid(row=1, column=0, padx=15,
pady=15)
familyEntryTabOne.grid(row=1, column=1, padx=15, pady=15)
jobLabelTabOne.grid(row=2, column=0, padx=15,
pady=15)
jobEntryTabOne.grid(row=2, column=1, padx=15, pady=15)
imgLabelTabOne.grid(row=0, column=2, rowspan=3, padx=15, pady=15)
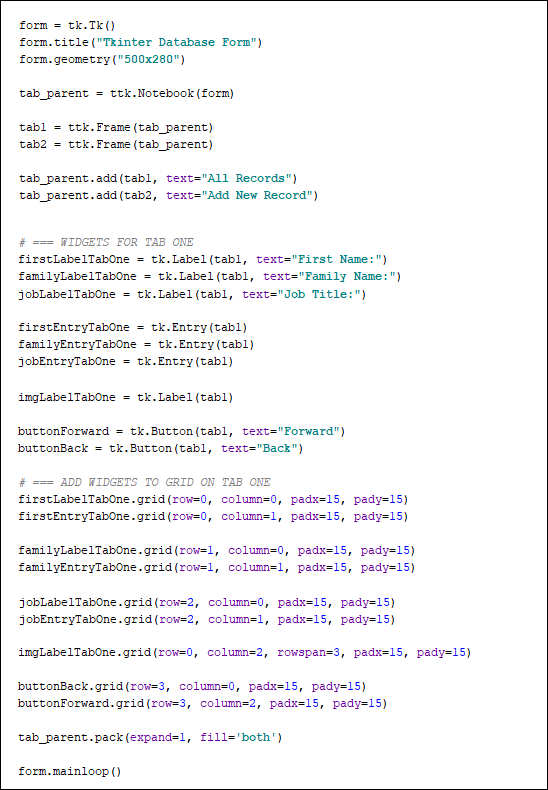
The code is something you've met before, so we won't explain it. It's just adding the widgets to grid positions. (The rowspan=3 part ensures that the image label is placed correctly.) Your code in PyCharm should look like this, though: (We've missed off the import statements at the top.)
We can now add the widgets to tab2. This is just about the same as for tab1, except we replace tab1 between round brackets with tab2. Here's the code to set up the widgets:
# === WIDGETS FOR TAB TWO
firstLabelTabTwo = tk.Label(tab2, text="First Name:")
familyLabelTabTwo = tk.Label(tab2, text="Family Name:")
jobLabelTabTwo = tk.Label(tab2, text="Job Title:")
firstEntryTabTwo = tk.Entry(tab2)
familyEntryTabTwo = tk.Entry(tab2)
jobEntryTabTwo = tk.Entry(tab2)
imgLabelTabTwo = tk.Label(tab2)
buttonCommit = tk.Button(tab2, text="Add
Record to Database")
buttonAddImage = tk.Button(tab2, text="Add Image")
And here's the code to place the widgets on a grid for tab2:
# === ADD WIDGETS TO GRID ON TAB TWO
firstLabelTabTwo.grid(row=0, column=0, padx=15, pady=15)
firstEntryTabTwo.grid(row=0, column=1, padx=15, pady=15)
imgLabelTabTwo.grid(row=0, column=2, rowspan=3, padx=15, pady=15)
familyLabelTabTwo.grid(row=1, column=0, padx=15,
pady=15)
familyEntryTabTwo.grid(row=1, column=1, padx=15, pady=15)
jobLabelTabTwo.grid(row=2, column=0, padx=15,
pady=15)
jobEntryTabTwo.grid(row=2, column=1, padx=15, pady=15)
buttonCommit.grid(row=4, column=1, padx=15, pady=15)
buttonAddImage.grid(row=4, column=2, padx=15, pady=15)
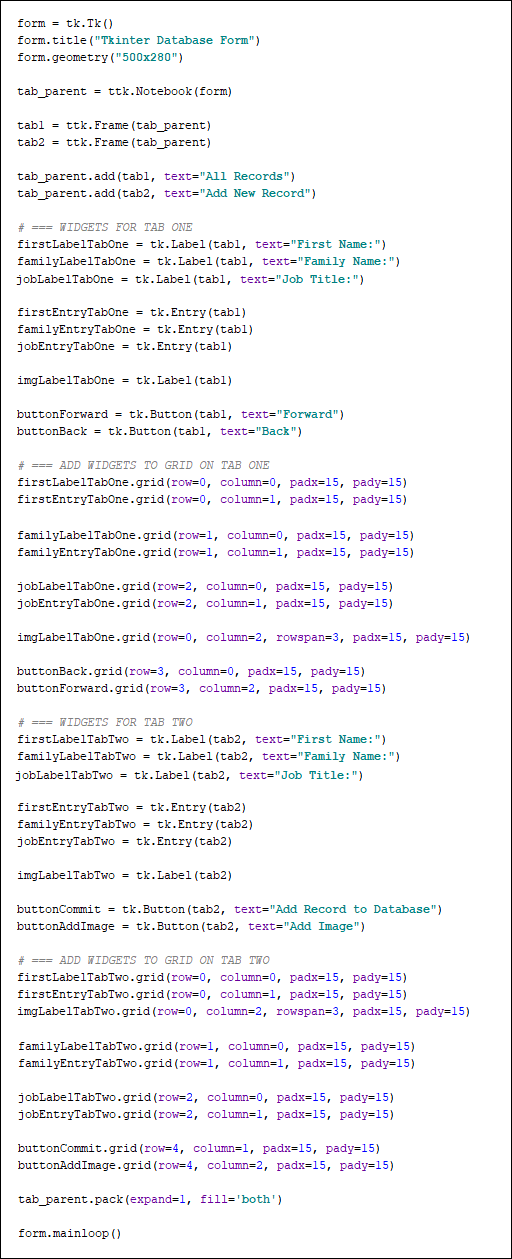
Again, the code is not something you haven't met before. But it should look like this in PyCharm:
If you're having problems adding the code, then here's a text file where you can copy and paste everything we've done so far:
Python Tab Code tab_code_widgets.txt
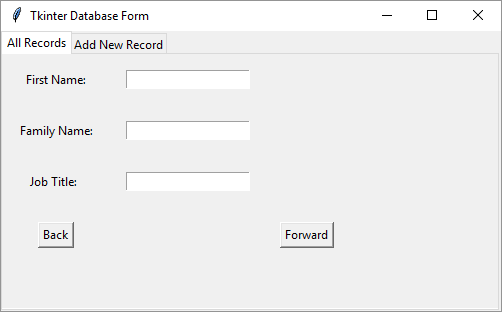
You can run your program now. The widgets on tab one should look like this:
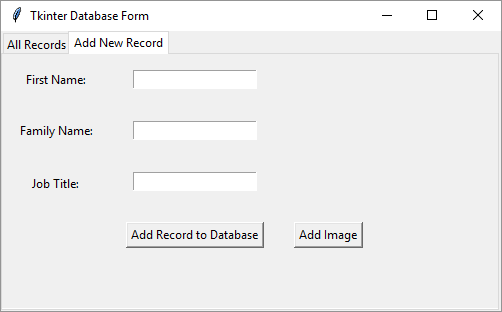
And the widgets on tab two should look like this:
One thing we do need to know is which of our two tabs is currently the active one. We'll tackle that in the next lesson.